Buttermilk-Brined Spatchcocked Chicken
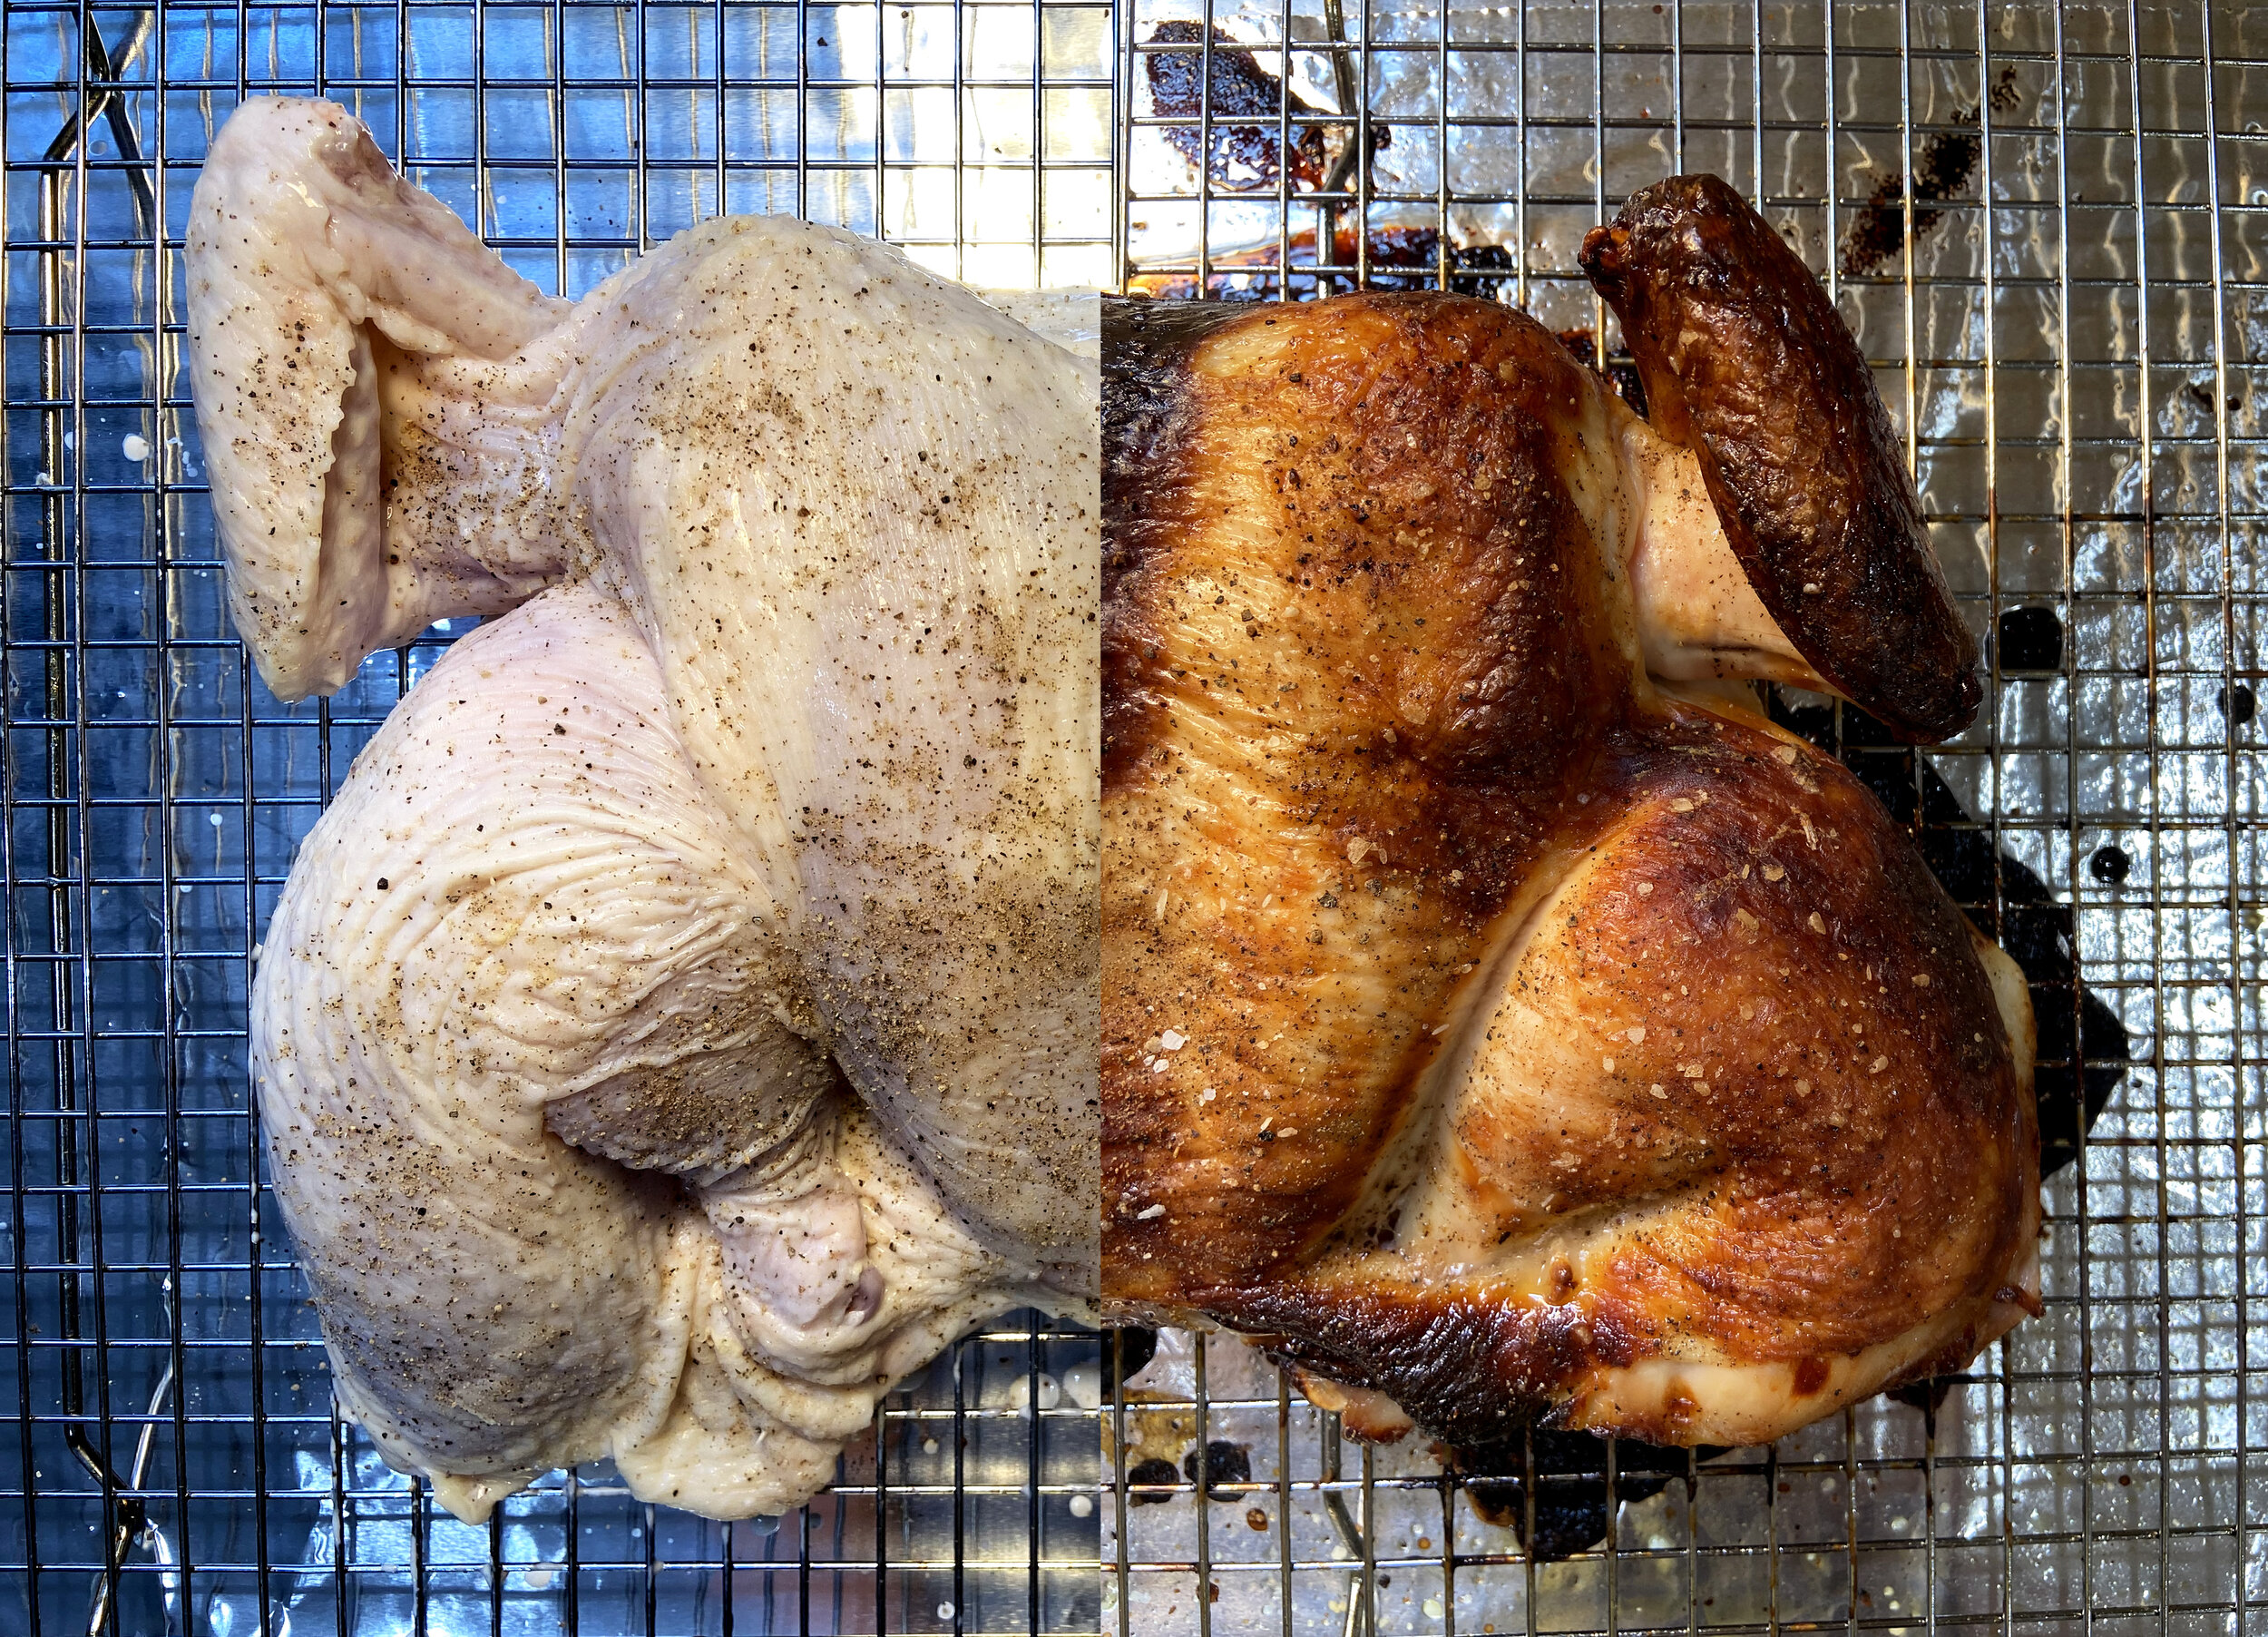
The compartmentalized temperature control on ovens these days is quite impressive. Just look at this buttermilk-brined spatchcocked chicken! [Photo credit: Alex Paternostro]
by Seth Paternostro
November 9, 2021
It’s no surprise that Southern fried chicken often relies on a buttermilk brine for both flavor and function. The tang tenderizes, while the salt works its magic, transforming a generic pound of poultry into a favorite pre-lunch snack. As we’ve found through non-countless trials, the brine is protean. Paired with a funny form, our flattened, formerly-feathered friend will cook quickly, evenly, and to a beautiful golden-brown that you might just lick all day long.
Serves 4
Total time
45 minutes, plus marinating overnight
Equipment:
cutting board, boning knife or cleaver, heavy scissors, large glass dish, bake sheet, wire drying rack, aluminum foil, large plastic bag (for freezing scraps if desired), plastic wrap, paper towels, digital thermometer
Tableware:
serving platter, plates, and utensils
Ingredients
1 raw chicken (about 4 lbs)
1 cup buttermilk, or more as needed
4 tsps kosher salt, or about 1 tsp per lb
Black pepper, as needed
Instructions
(The night before the meal, preferably)
Set out all of the ingredients, along with the cutting board, boning knife or cleaver, large glass dish, large plastic bag, and plastic wrap. Remove the raw chicken from any packaging, draining excess liquid into the sink and saving the giblets bag for other uses (if applicable and desired). Place the bird atop the cutting board.
Remove the wishbone: With the breasts facing up and the legs away from you, feel for an upside-down V-shape in the neck cavity. Make 2 incisions that trace the V. Stick your thumb and forefinger in the incisions, and loosen the bone from any attached flesh. Pull the wishbone up and out. It is okay if it breaks, but be careful not to cut yourself on any sharp pieces if it does. Place into a plastic bag to save for stock.
Remove nubbin: Snip the protruding mini-wings on the top of each wing. Save in stock bag.
Remove the backbone: Turn the chicken over with the neck cavity still facing you. Using heavy scissors, cut along the right side of the backbone. Repeat on the left side until the backbone is fully severed. Put into stock bag.
Remove the shoulder bones that protrude above the ribcage: On the right side, make an incision at the joint connecting the protruding bone to the breast. Reserve for stock. Repeat on the left side.
Score a line along the middle of the sternum with your knife. Put the knife aside. Press down with both hands side by side to break the sternum and flatten the chicken.
Locate the joint between the thigh and drumstick on one side by feeling along the leg until you reach a knob-like rise under the surface of meat. Make a small incision through the skin into that joint. Repeat on the other side.
Flip the chicken over.
Run your hand under the skin of the breasts, being careful to separate the skin without tearing. This helps with even salting and crisping.
There should be loose skin near the bottom of the breasts where the entrails were removed. Between the thighs and breasts, make a 1-inch incision into this skin on each side. Push the bone end of the legs through these holes.
Place the bird into a large glass dish.
Apply salt evenly to the chicken, making sure to rub under the skin.
Cover the chicken in the buttermilk, and place breast-side down.
Wrap the dish with plastic.
Refrigerate overnight, or at least an hour before cooking.
(The day of the meal)Preheat the oven to 450°F.
Set out a bake sheet with a layer of the aluminum foil under a wire drying rack.
Remove the chicken from the buttermilk brine, letting the liquid drip off into the dish.
Place the chicken onto the center of the wire rack.
Using paper towels, blot any remaining brine away until the skin is mostly dry.
Lightly sprinkle with salt and black pepper.
Place the bake sheet into the oven with the legs pointing away from the door. Roast for about 45 minutes, or until any liquids run clear and the thickest part of the thigh reaches 165°F.
Lop off a leg, then taste the goodness of your buttermilk-brined chicken.
Note: For readers’ convenience, we’ve written this recipe using a standard supermarket chicken. For those starting with a live chicken, make sure it is deceased before use. Ba-gok!

A lil’ chicken wing waving, “Hi, there!” [Photo credit: Alex Paternostro]
NUTRITION FACTS:
Calories 362 Total Fat 26.5g (34%) Saturated Fat 7.6g (38%) Cholesterol 122mg (41%) Sodium 358mg (16%) Total Carbohydrate 0.2g (0%) Dietary Fiber 0g (0%) Total Sugars 0.2g Protein 28.8g Vitamin D 0mcg (0%) Calcium 21mg (2%) Iron 2mg (9%) Potassium 333mg (7%) - Note: Please read our Nutrition Disclaimer.
Seth Paternostro is a writer and recipe developer based in Chicago. He is a co-founder of Our American Cuisine and graduated summa cum laude from Princeton University with an A.B. in East Asian Studies. You can learn more about him here.
Cooked the dish? Please share it with friends!
Tag us on Instagram @ouramericancuisine, join our mailing list, and follow us on social media for more of our favorite recipes, essays, and more!